A mock-up room is not a showroom. It provides a controlled opportunity to discover that the nightstand covers the outlet, the wardrobe door hits the bed, or the reading light shines into the guest's eyes at night.
That is why the deliverable of a mock-up review is not a set of photographs. It is a closed issue log, a revised drawing or specification, and a written release — or a hold — for bulk production. The room is the test fixture. The log is the result. The Room-By-Room FF&E Checklist defines what belongs in the room; the mock-up tests how it fits.
Decide What the Mock-Up Must Prove
A mock-up can serve several purposes: design approval, brand approval, operations review, construction coordination and supplier qualification. They are not the same test, and one walk rarely satisfies all of them.
Write the purpose before the room is installed:
-
Design intent. Do the proportions, finishes and colors match the approved scheme in the actual light?
-
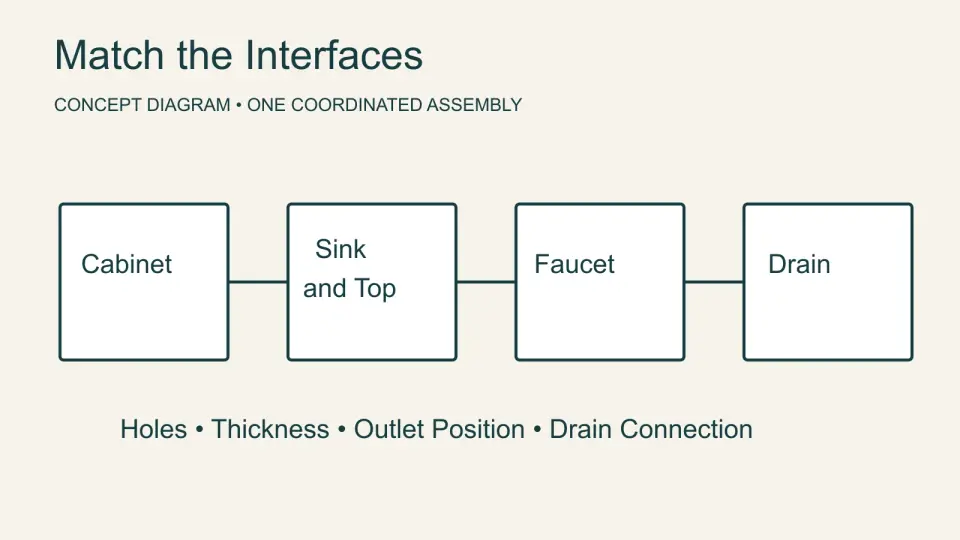
Interface fit. Do the furniture, door swings, outlets, switches, lighting, HVAC and bathroom fixtures work together in the real dimensions?
-
Operations. Can housekeeping clean it, can maintenance reach the services, can a guest use it as intended?
-
Production readiness. Is the shop drawing detailed enough to repeat this room across the order, with the same tolerances and the same approved references?
-
Supplier qualification. Which details need a repeat-production trial or an in-process check? One successful room demonstrates the sample, not the consistency of the full batch.
If the purpose is only “does it look right,” the review will miss the failures that cost the most to fix later. State the purpose in the invitation, and invite the people who can answer each question.
Set the Approval Objects Before the Room Is Built
Approval is not one event. At least four objects need separate approval, because each can change without the others:
-
The drawing revision. Plan, elevation, section and shop drawing, with dimensions, tolerances and wall-fixing details.
-
The finish references. Veneer, laminate, paint, fabric, stone, metal finish and edge detail, as physical samples.
-
The installed mock-up. The actual pieces, installed in the actual room, with the actual lighting.
-
The performance documents. Test reports, electrical listings, mattress compliance and any project-specific certificate.
A signed color sample does not approve a dimension. An installed room does not approve a drawing revision that arrived after installation. Keep the four records separate, and write the revision number on each.
Assign approval authority under the project's appointments and contracts. Use the roles below to allocate reviews; the table does not grant contractual authority.
| Review | Accountable role to name | Required coordination |
|---|---|---|
| Appearance and finish | Design lead and any required brand reviewer | Approved physical references and lighting |
| Drawing and building interfaces | Project technical lead | Furniture supplier, installer and relevant engineers |
| Cleaning and servicing | Operations and maintenance leads | Access to serviceable parts and cleaning trials |
| Manufacturing and fixing details | Supplier and responsible technical reviewer | Fabrication tolerances, substrate and installer method |
| Accessibility | Project accessibility reviewer | Applicable scoping, clearances and operable parts |
| Cost, schedule and release | Authorized owner or project representative | Technical reviews complete; changes priced and scheduled |
Name the signer for each approval object. Owner acceptance does not replace a technical review, and a consultant's review does not automatically authorize spending or production.
A project may build one mock-up per distinct room type, or one representative room plus an accessible room. The right choice follows the variation that creates risk: a suite, an accessible room, a different bathroom layout, or a unique joinery condition. A single standard king room will not test the door swing of a suite or the reach range in an accessible room.
Walk in a Fixed Order
A fixed route prevents the room from being dominated by the most photogenic piece. Walk it in the order a guest would, then walk it again from the housekeeping and maintenance side.
| Zone | What to test | Evidence to keep |
|---|---|---|
| Entry and door | Door swing, closer, peephole, security latch, light switch, luggage bench, corridor clearance | Photo with door at 90°, dimension from door edge to nearest furniture |
| Bed area | Mattress fit, headboard height, nightstand top height, reading lights, outlets, clearance on both sides | Tape-measured dimensions; photo from lying and standing positions |
| Desk and work area | Knee space, chair clearance, outlet reach, cable path, lamp switch, drawer pull | Photo with chair pushed in and pulled out; measurement of knee space |
| Wardrobe and minibar | Door and drawer swing, interior light, hanger height, safe reach, minibar ventilation | Photo of every door at full open; ventilation detail |
| Bathroom | Vanity depth, mirror height, towel bars, door swing, threshold, accessible clearances | Elevation photo with tape measure; threshold height |
| Window and HVAC | Curtain operation, blackout, thermostat reach, diffuser location, condensation risk | Photo at night with curtains closed; thermostat height |
The second pass matters. A room that looks correct from the doorway can fail when a housekeeper tries to vacuum under the bed, or when a maintenance technician tries to reach the minibar compressor.
Check Furniture and Casegoods as Installed Objects
Furniture drawings describe nominal dimensions. The mock-up shows what the factory actually made. Measure the installed piece against the approved dimensions and tolerances.
-
Drawers and doors. Open every drawer and door through its full travel. Check that it clears the bed, the wall, the curtain and the next piece. Check travel against the specified runner and approved opening envelope. An obstruction that prevents the agreed travel needs correction; a limited-extension runner may be intentional.
-
Wall fixings. Confirm the anti-tip fixing, the bracket type and the substrate. A dresser that can tip when a drawer is loaded is a safety issue, not a finish issue.
-
Clearances. Check the gap for housekeeping, the space for a vacuum head, and the reach behind the nightstand for cleaning and maintenance.
-
Edges and touch-up. Run a hand along the edge, the underside and the back. The surfaces a guest sees are only part of the inspection.
-
Repeatability. Ask which tolerance the factory will hold on the full order, and how the installer will replicate the wall-fixing detail on a different site condition.
The Cabinet Quality Checklist covers the factory-side checks; the mock-up is where those checks meet the building.
Match the Bed, Mattress and Headboard in Three Dimensions
Bed problems are usually dimensional, not aesthetic. Check three dimensions with the actual mattress specification:
-
Mattress width and length. A “king” drawing is not a dimension. Confirm the mattress model, its width, length and depth, and whether a foundation or platform changes the height.
-
Mattress top height. The nightstand top, the headboard height and the mattress surface should work together for sitting, reading and reaching. A small difference is visible in use even when it disappears in a rendering.
-
Headboard and wall gap. Check the gap behind the headboard, the fixing method, the clearance for the mattress, and whether the headboard can be cleaned behind.
Ask the mattress supplier for the compliance document tied to the exact model. For the United States, CPSC Mattress Guidance distinguishes the smoldering rule in 16 CFR Part 1632 from the open-flame rule in Part 1633. Check the label, conformity certificate and supporting prototype coverage for the specified mattress and foundation combination. A report for a visually similar mattress is insufficient.
Test Power, Lighting and Controls as a Guest Would
A daylight review can miss glare and control problems. Test the lighting at night, with the curtains closed and the door closed.
-
Entry switch. Can a guest find it without stepping into a dark room? Is it at the same height as the other switches?
-
Reading light. Sit on the bed, lean back and read. Check glare, beam spread, color temperature and whether the switch is reachable from lying down.
-
Outlet and USB reach. Plug in a phone, a laptop and a hair dryer at the places they will actually be used. Check that the outlet is not blocked by the nightstand or the bed.
-
Dimming and control logic. Test every scene, every dimmer and every combination. A control that requires an instruction card is a design decision, not a neutral feature.
-
Color consistency. Compare the reading light, the vanity light and the ceiling light. A mixed color temperature is visible across a room even when each fixture is individually acceptable.
In an accessible guest room, check every control against the reach range in the adopted accessibility standard. The United States ADA figure is given under Accessibility below; the installed height matters more than the drawing.
Review Bathroom, Wardrobe and Entry Interfaces
The furniture package often stops at the bathroom door, but the guest experience does not. Check the interfaces that cross trades:
-
Vanity and mirror. Does the mirror height work for a standing adult and a seated guest? Does the vanity depth leave room for the basin and the tap?
-
Towel bars and hooks. Are they reachable from the shower and the basin without crossing the room?
-
Door swing and threshold. Does the bathroom door clear the vanity, the bed and the luggage bench? Is the threshold a trip hazard?
-
Wardrobe and safe. Can a seated guest reach the safe? Does the wardrobe light turn off when the door closes?
-
Minibar and kettle. Is there ventilation, a power outlet and a clear surface? Is the appliance cord long enough without an extension lead?
-
HVAC and thermostat. Is the thermostat reachable from the bed and not behind a curtain? Does the diffuser blow directly on the bed?
These are not furniture details in the contract sense. They are the points where the furniture package meets the building, and the mock-up lets the team inspect them together before repeating the detail.
Treat Accessibility as Measurements, Not a Label
“Accessible room” on a drawing is not evidence. Measure the installed conditions:
-
Reach to switches, outlets, thermostat, safe and towel bars.
-
Clear floor space at the bed, the desk, the wardrobe and the bathroom.
-
Turning space and door maneuvering clearance.
-
Bed height, transfer space and the clearance beside the bed.
-
Mirror, vanity and bench heights.
Use the project's adopted accessibility standard, not a generic checklist. For elements required to be accessible under the United States ADA Standards, Sections 308.2.1 And 308.3.1 give an unobstructed adult reach range of 15 to 48 inches above the finished floor. Reaching across a desk or nightstand introduces obstruction-depth and approach conditions under Sections 308.2.2 and 308.3.2; mounting a control at 48 inches alone does not establish compliance. Use the applicable scoping and local requirements for the project. If the project includes accessible rooms, invite the accessibility consultant to the walk and record their sign-off separately from the design approval.
Log the Defect, Not the Impression
A photo of a beautiful room is not a record of a decision. The six steps below are the mechanics of closure; the gates in the next section are the decisions that release the order.
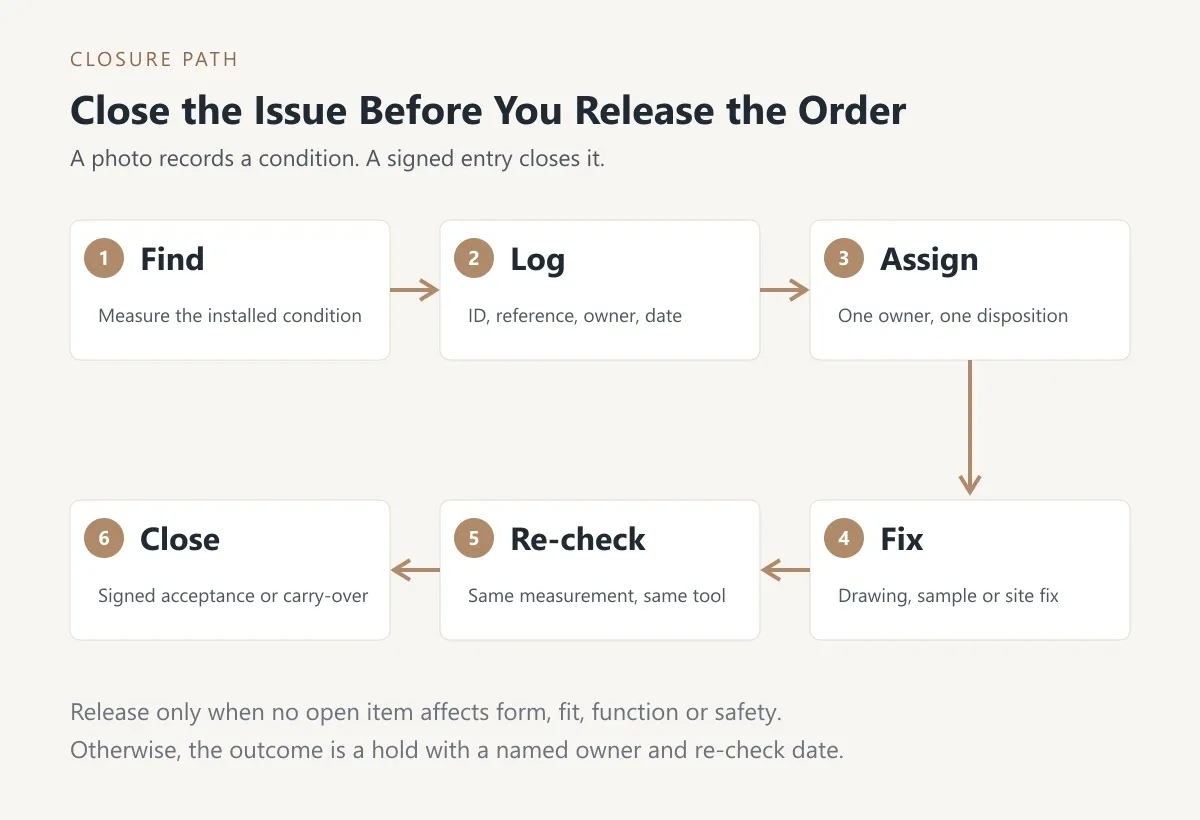
Each issue needs enough fields to be fixed and rechecked by someone who was not in the room.
| Field | What to record |
|---|---|
| Issue ID | A unique number that survives into the production file |
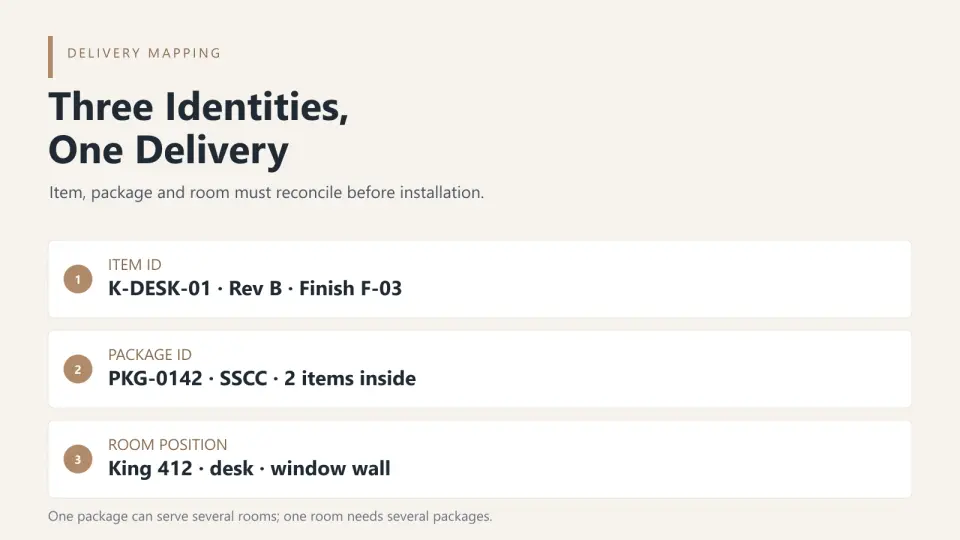
| Zone and item ID | Where it is and which drawing or PO line it belongs to |
| Observation | The measured condition, not “looks wrong” |
| Reference | Drawing revision, sample ID or standard clause |
| Owner | The party who must act |
| Due date | A date, not “before production” |
| Disposition | Accept, revise, replace or reject |
| Evidence | Photo with scale, measurement, test result |
| Revision | The drawing or sample revision that carries the fix |
| Cost and schedule | Change cost, payer, approval status and effect on production or delivery |
| Release scope | Item IDs and room types held or released, with authorized signer |
| Recheck | Who rechecked, when, and the result |
| Closure | Signed acceptance or a named carry-over condition |
Take photos with a tape measure or a scale in the same plane as the measured feature; keep the written measurement as the controlling record. Record the height and the gap, not only the appearance. If the issue is a color match, photograph it under the specified light and next to the approved sample.
Hypothetical closure example: The king-room nightstand blocks the specified outlet. Log the item ID, installed drawing revision and measured obstruction. The design and electrical reviewers choose whether to move the outlet or revise the nightstand; the project representative approves the cost and schedule effect. Record the chosen detail in both affected drawings, install the change, then recheck plug access with the actual furniture and any applicable accessible reach conditions. Hold the affected nightstand and room types until that evidence is accepted. A matching photograph or a revised furniture drawing alone does not close an unresolved electrical change.
Close with Conditions, Not a Thumbs-Up
A mock-up review ends with one of three outcomes: release, conditional release, or hold. A verbal “looks good” is none of them.
Use six gates:
-
Layout and interfaces. Furniture, doors, drawers and services fit and operate.
-
Finishes and durability. The approved references are installed, and the cleaning regime does not damage them.
-
Electrical and lighting. Every control, outlet and fixture works as specified, including reach and glare.
-
Accessibility. The adopted standard is met in the installed condition.
-
Operations. Housekeeping and maintenance can service the room.
-
Cost and schedule. Any change has a price, a lead time and an owner.
Cost and schedule belong in the review. A change that misses the order date needs a recovery plan and a named owner. A conditional release is acceptable only when every open item has an owner, a due date and a recheck date, and when no open item affects form, fit, function or safety within the released scope. Otherwise, hold the affected item and room types. Unaffected items may proceed only under an explicitly recorded partial release, with their own approved references.
If the project retains a golden room, seal it after the fixes are installed and label it with the approved revision. A golden room that keeps changing is no longer a reference.
Bring the Right Tools and the Right People
Bring a tape measure, a laser distance meter, a spirit level, an outlet tester, a light meter or a phone app for indicative readings, a camera, painter's tape, the approved drawings and the physical samples. Record small gaps as measurements rather than asking reviewers to infer them from photographs.
Bring the people who can decide: design, project management, operations, the furniture supplier, the installer and, for accessible rooms, the accessibility consultant. The supplier should bring the shop drawings and the sample log; the installer should bring the fixing details.
George's Furniture Page starts from a room plan, item list or reference images and quotes the individual pieces. The Hotel Supplies Page keeps furniture separate from operating supplies. For a mock-up review through that route, state which pieces are in the room, which revision is installed and who will attend the walk; those are project decisions, not something a category page can confirm.
A useful mock-up review produces an approved, repeatable standard and closes the issues that prevent release. A detail that needs no change still needs a recorded acceptance against its drawing and sample references.